How Are Vinyl Gloves Made? Complete Manufacturing Guide
- Damao Tech
- Gloves
- 12 Sep, 2026
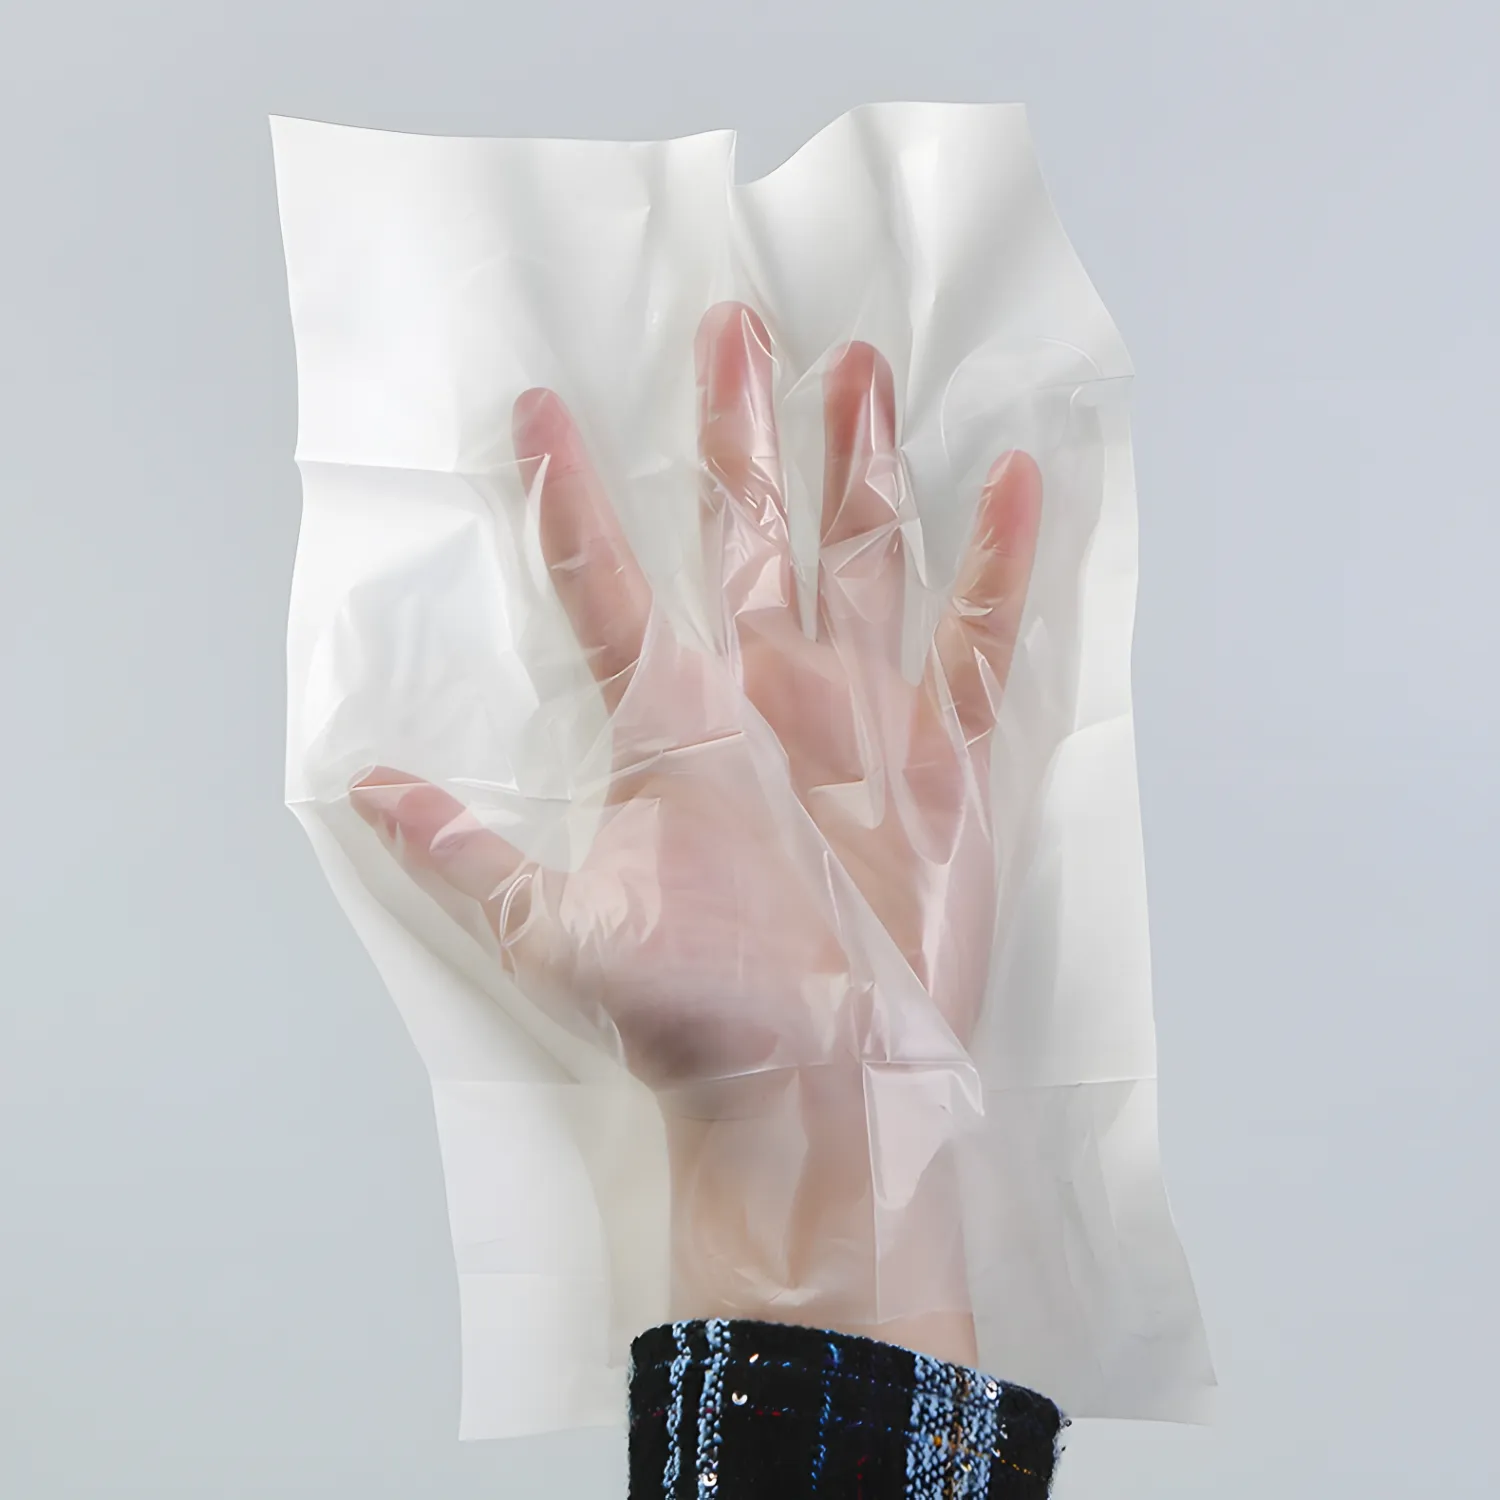
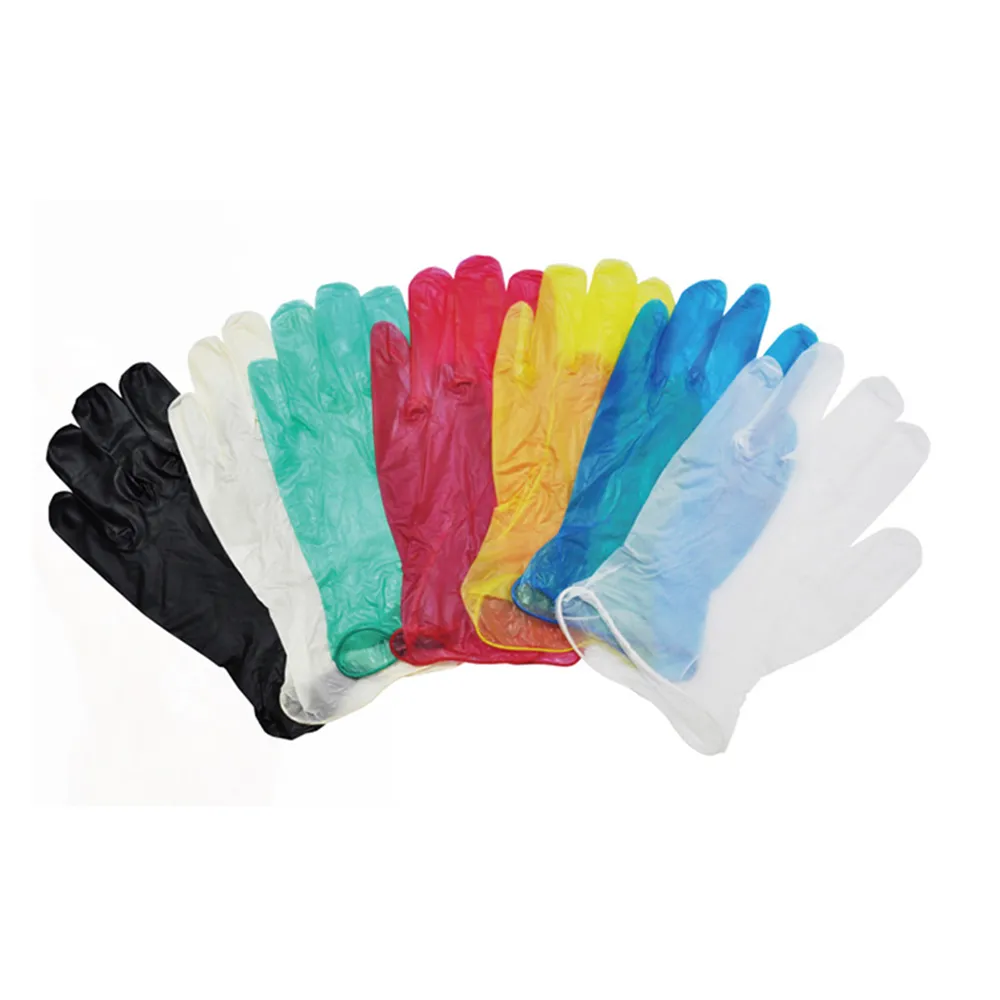
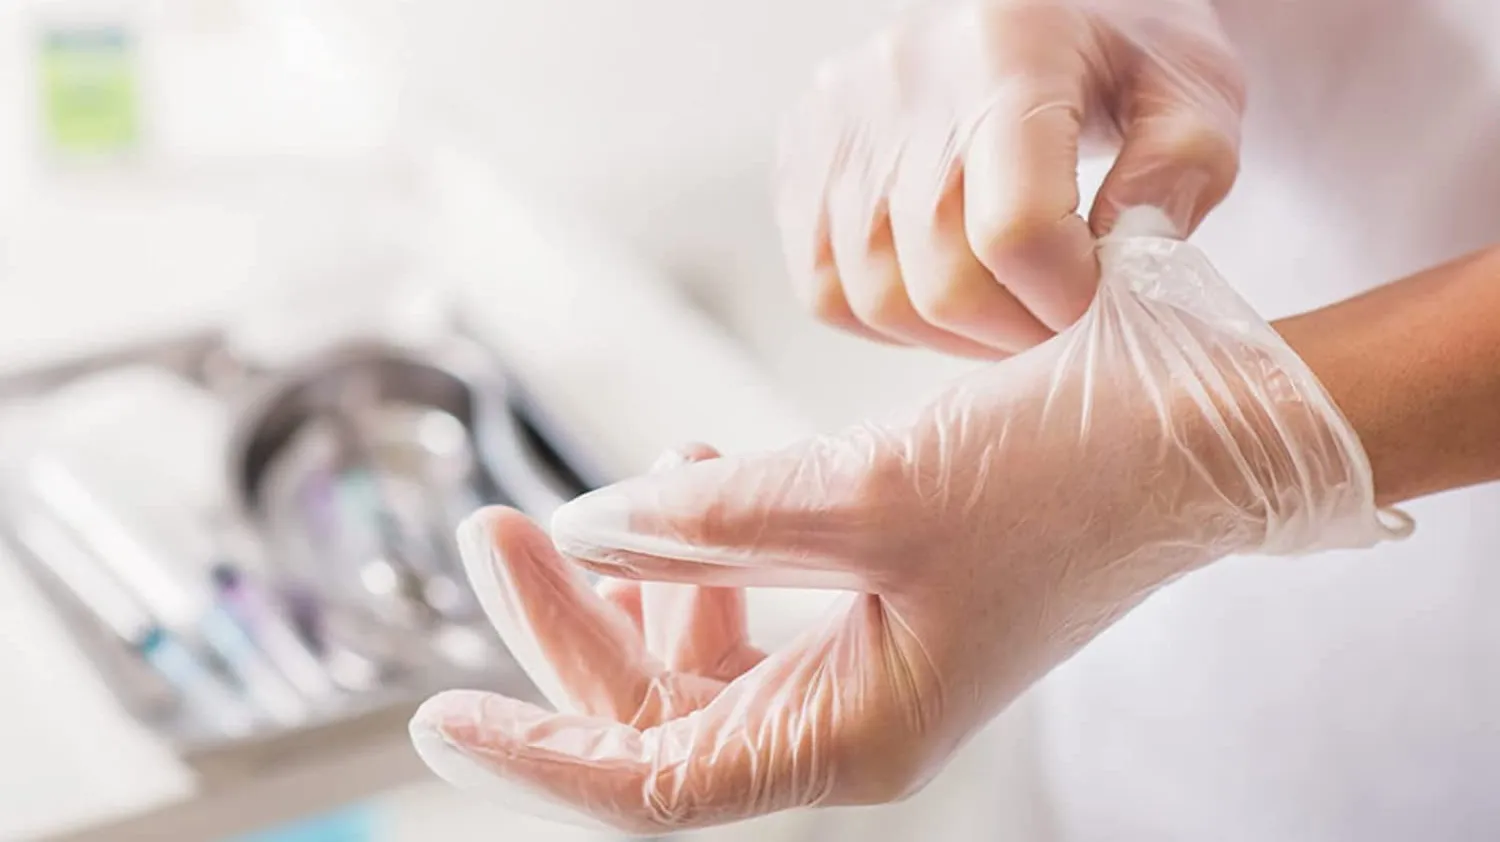
Disposable vinyl gloves remain one of the most widely consumed synthetic protective barriers globally, particularly across commercial catering, basic janitorial work, and low-risk clinical environments. Valued for their complete lack of natural rubber latex proteins and accessible pricing, vinyl gloves are produced through automated continuous dipping lines that transform synthetic thermoplastic resin into functional hand protection.
This guide provides an engineering-level breakdown of the raw materials, chemical compounding, thermal curing, quality compliance (ASTM D5250, EN 455), and operational considerations required to manufacture disposable PVC gloves.
Chemical Composition: What Are Vinyl Gloves Made Of?
Vinyl gloves are manufactured from Polyvinyl Chloride (PVC), a synthetic thermoplastic polymer derived from ethylene and chlorine. In its virgin polymerized state, PVC exists as a rigid, brittle white powder (the same polymer matrix used in rigid drainage pipes and window profiles).
To convert rigid PVC into a soft, flexible, and skin-conformable disposable film, polymer engineers compound the resin with plasticizers, stabilizers, and functional additives:
- PVC Emulsion Resin (50%–60% by weight): High-molecular-weight suspension or emulsion grade PVC powder forms the core structural backbone of the glove.
- Plasticizing Agents (40%–45% by weight): Plasticizers intercalate between the rigid polymer chains, increasing free volume and enabling chain mobility:
- DOTP (Dioctyl Terephthalate): A non-ortho-phthalate plasticizer increasingly adopted for food-contact compliance under EU Regulation 10/2011 and FDA food-grade regulations.
- DINP (Diisononyl Phthalate): Widely utilized in standard industrial-grade vinyl gloves for mechanical softness and thermal stability.
- DOA (Dioctyl Adipate): Often added in low concentrations to enhance cold-temperature flexibility.
- Heat Stabilizers (1%–2%): Non-toxic Calcium-Zinc (Ca-Zn) liquid thermal stabilizers prevent polymer chain degradation and dehydrochlorination during high-temperature oven curing.
- Viscosity Depressants & Deaerators: Organic surfactants added to eliminate micro air bubbles during liquid compounding.
- Polyurethane (PU) Slip Coating: Applied to the glove interior to provide smooth donning without using cornstarch powder.
The 8-Step Vinyl Glove Manufacturing Process
Modern vinyl glove production lines operate continuously on conveyor loops spanning hundreds of meters, holding thousands of porcelain or ceramic hand formers. Maintaining tight control over tank viscosities, line speeds, and oven thermal curves is crucial to preventing structural pinholes.
1. Plastisol Compounding and Vacuum Degassing
Raw PVC powder, liquid plasticizers, and stabilizers are loaded into high-shear industrial dispersion mixers to form plastisol—a thick, homogeneous liquid suspension.
During mixing, mechanical agitation introduces millions of microscopic air bubbles into the paste. The plastisol is pumped through high-vacuum degassing chambers to evacuate all dissolved air. Skipping this deaeration step causes bubbles to expand during thermal curing, resulting in microscopic pinholes and failed water-tightness tests.
2. Former Ultrasonic Cleaning and Acid Rinsing
Porcelain hand-shaped formers travel on overhead chains through multi-stage wash tanks:
- Acid wash: Dilute nitric or hydrochloric acid dissolves inorganic scale and coagulant residue from previous cycles.
- Alkali wash: Mild alkaline surfactant solution strips off residual plastisol oils.
- High-pressure hot water jets & rotating nylon brushes: Scour the ceramic formers clean.
- Drying ovens: Evaporate surface moisture to ensure the formers enter the dip line completely dry and preheated to approximately 55°C–65°C.
3. Coagulant Coating (Optional for Hybrid Formulations)
Unlike natural rubber latex, which requires a heavy coagulant dip to destabilize latex particles, standard PVC plastisol can adhere directly to preheated formers via thermal wetting. However, advanced thin-wall vinyl lines utilize a light wetting surfactant and preheating sequence to ensure a uniform liquid film across the fingertips and webbing.
4. Precision Plastisol Dipping
The preheated ceramic formers submerge into thermostatically controlled dipping tanks containing liquid plastisol.
- Rheology management: The liquid mixture is continuously agitated and filtered to maintain steady viscosity (typically 800–1,200 mPa·s).
- Immersion mechanics: Automated dipping arms submerge and retract the formers at programmed angles and withdrawal speeds. Withdrawal velocity determines the uncured film thickness: faster withdrawals yield thicker walls, while slower speeds produce thinner, more sensitive gloves.
5. Cuff Rolling (Beading)
While the plastisol film is semi-solidified, counter-rotating mechanical rubber rollers engage the bottom rim of the glove on the former. This rolls the uncured vinyl upward into a neat, reinforced circular bead. The beaded cuff provides tensile reinforcement, preventing tearing when users pull the glove over their hands, while preventing liquid rollback along the forearm.
6. Thermal Curing and Polymer Gelling (180°C – 230°C)
The coated formers travel through a multi-zone continuous curing oven for 10 to 15 minutes. Curing occurs across distinct thermal zones:
- Pre-gelation zone (100°C – 140°C): Solvents and volatile fractions evaporate; plasticizers begin penetrating the PVC resin particles.
- Gelation & Fusion zone (180°C – 230°C): The PVC particles absorb the plasticizer completely, swelling and fusing into a continuous, homogeneous elastomeric polymer network.
- Cooling zone: Industrial fans blast filtered air over the formers to lower the temperature to around 40°C–50°C, stabilizing the film before mechanical stripping.
7. Polymer Coating for Powder-Free Donning
Historically, manufacturers dusted vinyl gloves with USP absorbable cornstarch powder to prevent the tacky vinyl surfaces from sticking together. Modern facilities apply an inline polyurethane (PU) or silicone-based polymer coating directly onto the interior surface. This creates a smooth, friction-free barrier that allows effortless damp or dry hand donning without contaminating sensitive cleanrooms or food preparation areas.
8. Automated Stripping, Pinhole Inspection, and Packaging
High-pressure pneumatic air nozzles loosen the gloves from the ceramic molds, and automated mechanical gripping fingers peel them off inside-out. The gloves are then conveyed to quality assurance stations:
- Automated vision inspection: High-resolution optical cameras detect cuff defects, irregular edges, and surface tears.
- Batch water leak testing (ASTM D5151 / EN 455-1): Random samples are filled with 1,000 mL of water and suspended for several minutes to check for droplet leaks.
- Automated boxing: Approved gloves are stacked, weighed, and sealed into dispenser boxes of 100 or 200 pieces.
Technical Specifications and Quality Standards
When evaluating vinyl gloves for institutional procurement, buyers must review compliance with established international standards:
| Parameter | ASTM D5250 (Medical Vinyl) | EN 455 Parts 1–4 (EU Medical) | Industrial / Food Grade |
|---|---|---|---|
| Pinhole AQL | ≤ 1.5 (Level I / II sampling) | ≤ 1.5 (Water leak test) | AQL 2.5 – 4.0 |
| Tensile Strength (Before Aging) | ≥ 11.0 MPa | Median force at break ≥ 3.6 N | ≥ 9.0 MPa |
| Tensile Strength (After Aging) | ≥ 11.0 MPa (70°C, 7 days) | Median force at break ≥ 3.6 N | ≥ 8.0 MPa |
| Elongation at Break | ≥ 300% | ≥ 300% | ≥ 250% |
| Palm Thickness | Min. 0.05 mm (approx. 2.0–3.5 mil) | Min. 0.05 mm | 0.04 – 0.07 mm |
| Latex Protein Content | 0 µg/g (100% Latex-Free) | 0 µg/g (100% Latex-Free) | 0 µg/g (100% Latex-Free) |
Material Comparison: Vinyl vs. Nitrile vs. TPE
Understanding how vinyl compares to other synthetic alternatives ensures correct application matching:
| Feature | Vinyl (PVC) | Premium Nitrile | TPE Gloves |
|---|---|---|---|
| Base Polymer | Polyvinyl Chloride + Plasticizers | Nitrile Butadiene Rubber (NBR) | Thermoplastic Elastomer (TPE) |
| Elasticity & Stretch | Moderate (300% elongation) | High (500%–600% elongation) | High (400%–500% elongation) |
| Form-Fitting Memory | Loose fit; relaxes with body heat | Snug; mimics natural latex | Semi-snug; thermal memory |
| Puncture Resistance | Fair (prone to snag tears) | Excellent (3x stronger than latex) | Moderate (higher than PE) |
| Chemical Resistance | Acids/alkalis, water, alcohols | Solvents, fuels, oils, chemo drugs | Water, detergents, food oils |
| Fatty Food Compatibility | Poor (risk of plasticizer leaching) | Excellent (certified food safe) | Excellent (100% plasticizer-free) |
| Cost Index | Low (Economy) | Medium-High (Performance) | Low-Medium (Cost-Effective) |
Appropriate Applications and Food Safety Considerations
While vinyl gloves are an affordable barrier, procurement managers must deploy them strictly within their technical envelope:
Recommended Uses
- Commercial Food Service (Non-Fatty): Quick sandwich assembly, vegetable chopping, buffet service, and front-of-house food handling.
- Janitorial and Sanitation: Surface dusting, bathroom cleaning with mild neutral detergents, and trash handling.
- Cosmetology & Hair Salons: Protecting hands against mild hair dyes, shampoos, and water exposure.
- Low-Risk Healthcare (Non-Sterile): Routine patient transport, bed linen replacement, and non-invasive patient registration.
When NOT to Use Vinyl
- Fatty and Oily Food Processing: Conventional plasticizers like DINP and phthalates are lipid-soluble. When handling animal fats, butter, cooking oils, or raw meats, plasticizers can migrate from the glove into the food. For fatty foods, choose food-certified TPE Gloves or Premium Nitrile Gloves.
- Hazardous Chemical Handling: Organic solvents, ketones, and petroleum distillates rapidly dissolve PVC matrices.
- Invasive Medical Procedures: For bloodborne pathogen protection in acute care, Purple Medical Exam Nitrile Gloves with AQL 1.5/0.65 are required.
Frequently Asked Questions (FAQ)
Are vinyl gloves completely latex-free?
Yes. Vinyl gloves are made from synthetic polyvinyl chloride resin and contain zero natural rubber proteins. They present zero risk of Type I latex allergic reactions, making them safe for latex-sensitive workers.
What causes pinholes in vinyl gloves?
Pinholes typically result from three manufacturing flaws: inadequate vacuum degassing of the liquid plastisol (air entrapment), contaminated or unwashed ceramic formers, or uneven thermal gelation during oven curing. Quality manufacturers enforce AQL 1.5 sampling via ASTM D5151 water testing to filter out defective batches.
What is the shelf life of disposable vinyl gloves?
When stored in their original packaging away from direct sunlight, ozone, moisture, and extreme temperatures (optimal: 10°C to 30°C), vinyl gloves maintain their physical elasticity and tensile properties for 3 to 5 years.
Can vinyl gloves be recycled?
Pure PVC is recyclable under plastic resin code #3. However, disposable gloves contaminated with food waste, bodily fluids, or chemical residues cannot enter standard municipal recycling streams and must be disposed of according to local commercial waste regulations.
Need custom OEM/ODM production or bulk B2B container shipments of disposable gloves? Explore our full lineup of TPE Gloves, Premium Nitrile Gloves, and advanced Fully Automatic Disposable Gloves Machines, or contact our engineering team at info@damao-tech.com.